Adapted from a handwritten recipe found in my Fancy Lady Recipe box (1940s)
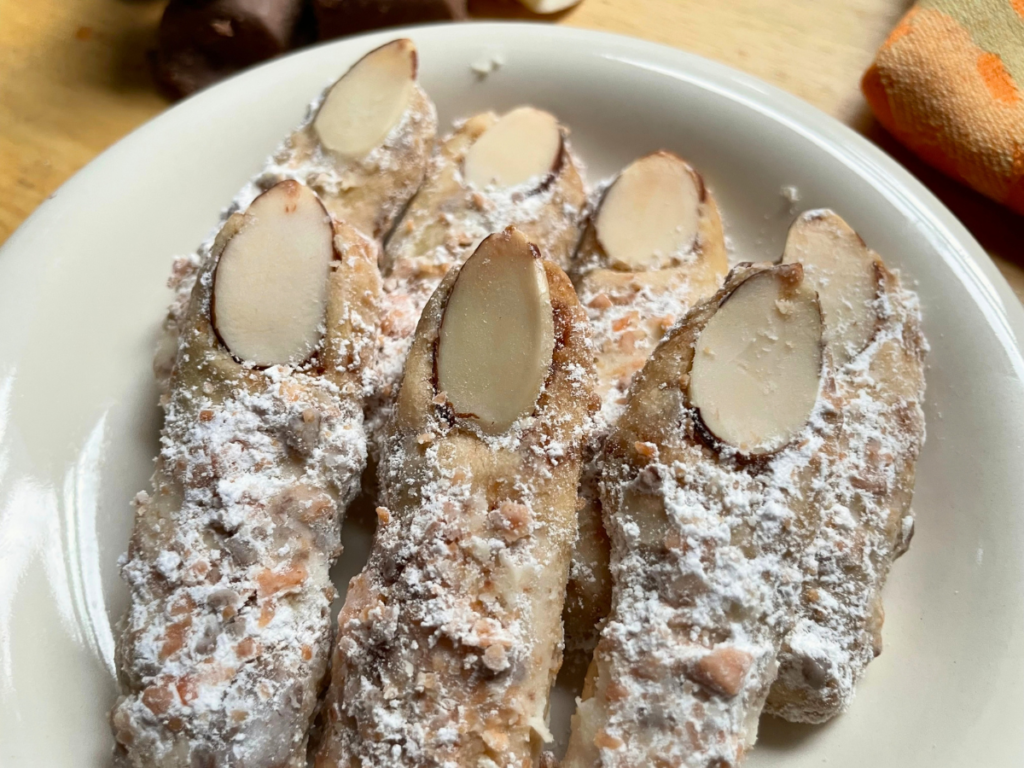
These look like they came straight out of a crypt, but they’re actually buttery, crumbly cookies loaded with chopped Butterfingers for a perfectly withered, craggy finish.
I was inspired to create these cookies when I found a handwritten recipe for Butter Finger Cookies in my Fancy Lady Recipe Box. The name got my wheels turning and I thought “why not make a version for Halloween, with Butterfinger candy mixed in?” So I did, and here you go.
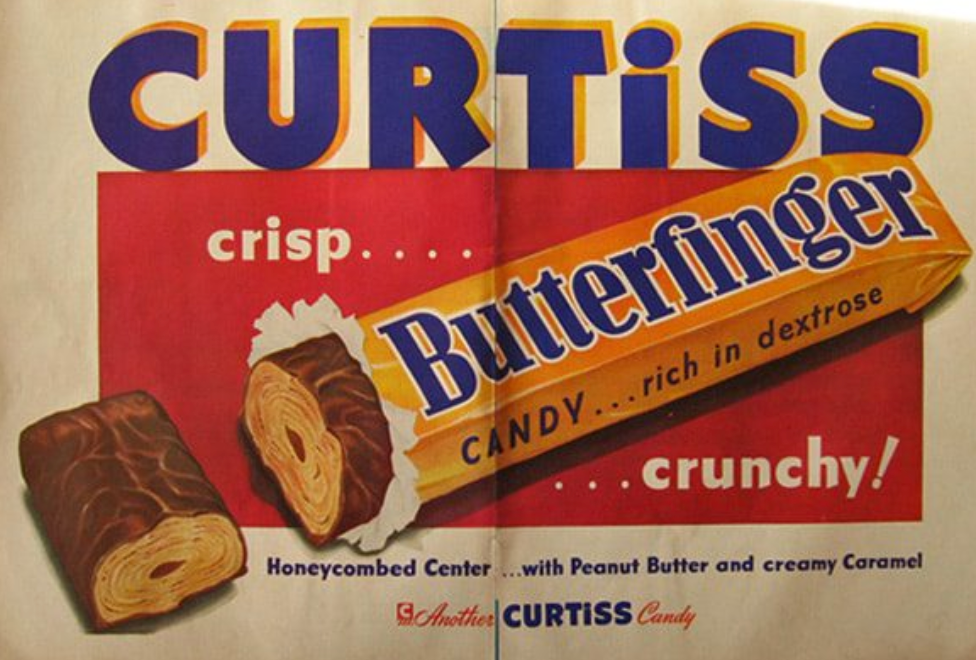
I happen to love Butterfinger bars, and come to find out, they were invented in 1923 by a man named Otto Schnering. Legend has it he dropped the candy bars from airplanes over cities across the US as a marketing stunt — I’m not sure that would go over quite as well today! That said, this delicious confection has been popular for over 100 years, which is no small feat!
OK, let’s get to the cookies. The base is a classic butter cookie with a texture much like a Mexican Wedding Cake, Russian Tea Cake, or Italian Wedding Cookie. It comes together so easily — just butter, powdered sugar, vanilla, and all-purpose flour.
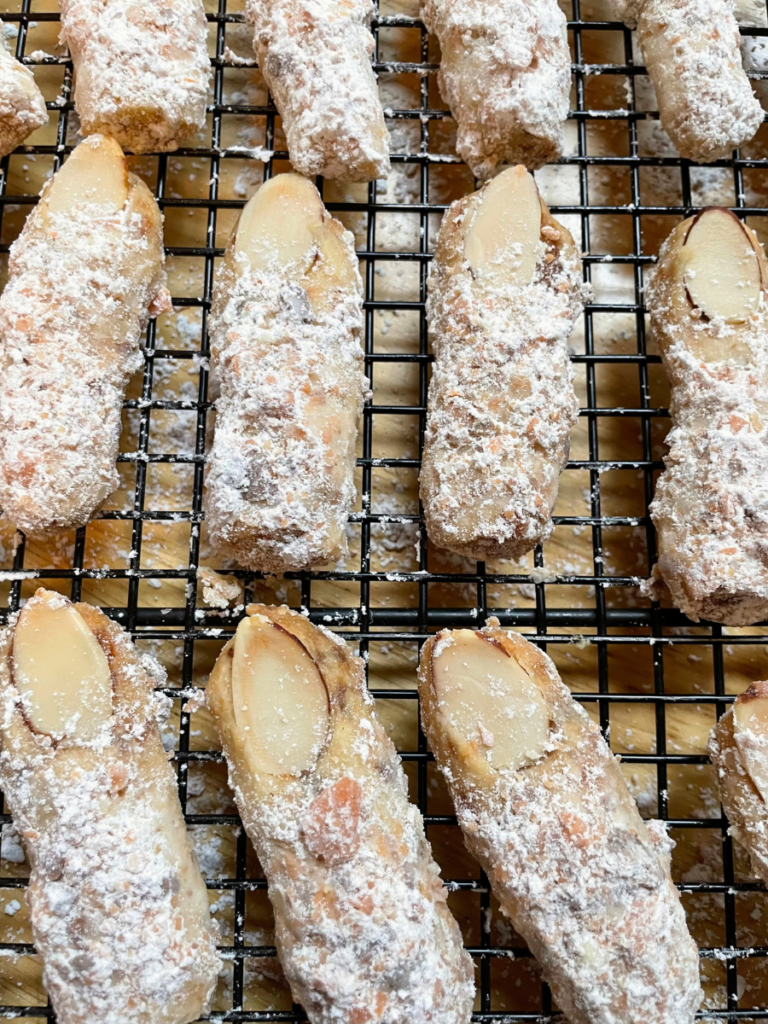
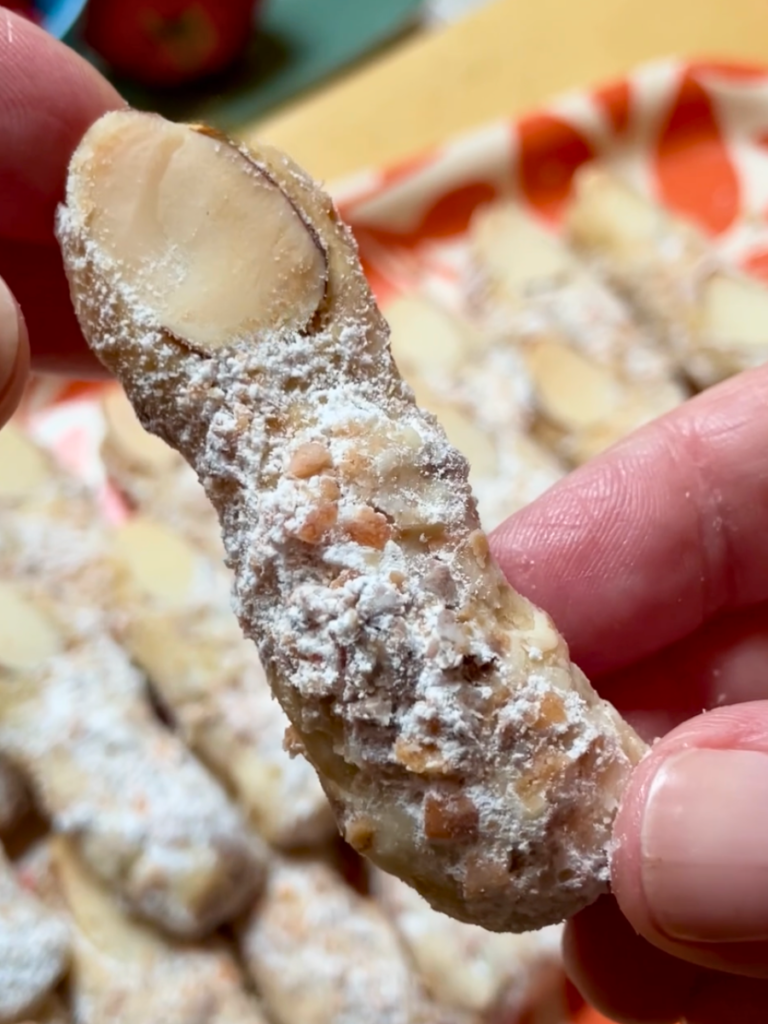
Then comes the fun part…you mix chopped Butterfinger bars straight into the dough and roll the dough into thin ropes. After a rest in the refrigerator, you shape them into fingers and press a sliced almond onto each tip for the fingernail—I think kids will love helping with that part! The pointy end should be slightly over the end of the cookie and you can mold the dough around and underneath the almond to make the fingertip look more realistic.
After baking, and while they are still warm, you roll each finger in a powdered sugar coating that includes more crushed Butterfingers. That’s what makes the cookies look extra gnarly!
They’re crumbly and buttery, with bits of flaky Butterfinger in every bite. Save this recipe for your Halloween baking!
Drop a comment below if you made this recipe – I’d love to know!
Spooky Butterfinger Finger Cookies
Ingredients
Cookies
- ½ cup salted butter, softened
- 2 tablespoons powdered sugar
- ½ teaspoon vanilla
- 1 cup all purpose flour
- ½ cup finely chopped Butterfinger bars (about 3 ounces) PLUS 4 tablespoons crushed for the coating – see below
Fingernails
- ⅓ cup sliced almonds (about 1 ounce) NOTE: You should buy a larger bag of sliced almonds (e.g. 5 ounces) and select the best almonds that are intact and look like fingernails.
Coating (enough to coat them twice)
- ¼ cup powdered sugar
- 4 tablespoons very finely crushed Butterfinger bars
Instructions
Make the cookie dough
- Combine the butter and powdered sugar until fully incorporated; then mix in the vanilla.
- Add the flour and mix until just combined and the mixture holds together (don’t overmix).
- Stir in the chopped Butterfinger bars.
- Split the dough into manageable pieces (about 6–8), and roll each into a rope about the width of your index finger, refrigerating any dough you’re not working with if it becomes too warm. For context, my ropes were about 8-10 inches long.
- This process can be a bit fiddly, so I suggest that you squish the dough into a little log, then gently roll with your fingertips. If the dough comes apart while you’re rolling just squeeze it back together!
- Place the rolls on parchment paper and transfer to a plate or sheet pan; cover loosely with a towel.
- Place in the refrigerator for 20-30 minutes, until firm enough to slice cleanly, but not so firm that they crack while slicing.
Make the coating
- While the dough is chilling, prepare the topping by first chopping the Butterfingers very finely. You can also use a food processor or blender, but pulse just until you achieve the consistency you’re looking for. If you do it too long, the heat could melt the candy.
- In a shallow bowl, toss with the powdered sugar and set aside.
Prep and bake the cookies
- When ready to bake, preheat the oven to 325°F.
- Line baking sheets with parchment and set aside.
- Cut the chilled dough into 2½-inch lengths.
- Place on the parchment-lined baking sheet about 1 ½ inches apart.
- Press a sliced almond into the top of each cookie, with the pointed side up to mimic a fingernail. The pointy end should be slightly over the end of the cookie and you can mold the dough around and underneath the almond to make the fingertip look more realistic.
- Make sure that the almonds are firmly pressed into the cookie, as they can fall off if not. If the dough is too hard, let the cookies sit for a bit to warm up.
- If any almonds do fall off they can easily be reattached after baking. See instructions below.
- Bake for about 13-15 minutes, until very lightly golden on the bottom and just firmly set (they should stay pale, not deeply browned).
- Transfer to a wire rack and cool until they are easy enough to handle, about 5-10 minutes.
Coat the cookies
- While still warm, very gently coat each cookie in the powdered sugar mixture. These are delicate cookies so use a light hand and be careful to not knock off the almond fingernails!
- I like to gently press the topping into each finger so it adheres better.
- For a thicker coating, wait a few minutes to allow the first coat to set a bit, then roll a second time.
- As noted above, if a fingernail does fall off you can glue it back into place – just make a little paste combining powdered sugar and water, glue the nail back on, and let it fully dry.
- Cool completely on a wire rack before storing. See storing instructions below.
- YIELD: About 24 cookies, depending on how thick you roll the logs and how you slice them.